前回までのまとめ 前回 、新しいhexoアプリケーションのドメインの設定、nginxの設定、let’s EncryptでのSSLの設定を行いました。
今回は、既存のhexoのバージョンアップを行う予定でしたが、既存と新規のhexoは完全に独立しているので、既存のhexoはそのままでも大丈夫そうです。
なので今回は、hexoをsystemdを使って起動するようにするのと、hexoの細かな設定を行って、サイトが常時表示されるようにしようと思います。
systemdの設定 以前、systemdの設定でハマったこと を書きました。これを参考に進めていきます。メモしておくと便利ですね!
unitファイルの追加 以前作成したファイルを少し変更すれば利用できそうです。ファイルをコピーします。
1 $ sudo cp /etc/systemd/system/hexo.service /etc/systemd/system/business_book_reviews_hexo.service
WorkingDirectoryなどを変更します。変更した結果は以下です。
1
2
3
4
5
6
7
8
9
10
11
12
13
14
15
16
17
18
$ diff -u /etc/systemd/system/hexo.service /etc/systemd/system/business_book_reviews_hexo.service --- /etc/systemd/system/hexo.service 2020-05-07 01:21:21.271546129 +0900 +++ /etc/systemd/system/business_book_reviews_hexo.service 2020-12-11 01:12:18.544145188 +0900 @@ -1,11 +1,11 @@ [Unit] -Description=hexo +Description=business_book_reviews_hexo After=syslog.target network.target [Service] Type=simple -ExecStart=/usr/bin/sudo /home/ec2-user/.anyenv/envs/nodenv/shims/hexo server -p 8080 -WorkingDirectory=/home/ec2-user/blog +ExecStart=/usr/bin/sudo /home/ec2-user/.anyenv/envs/nodenv/shims/npx hexo server -p 8081 +WorkingDirectory=/home/ec2-user/business-book-reviews StandardOutput=syslog StandardError=syslog KillMode=process
systemdの登録確認 unitファイルが追加されたか確認します。
1
2
3
$ sudo systemctl list-unit-files --type=service | grep hexo business_book_reviews_hexo.service disabled hexo.service enabled
systemdで起動する 今はdisableになっているのでenableにします
1
2
$ sudo systemctl enable business_book_reviews_hexo Created symlink from /etc/systemd/system/multi-user.target.wants/business_book_reviews_hexo.service to /etc/systemd/system/business_book_reviews_hexo.service.
起動します
1 $ sudo systemctl start business_book_reviews_hexo
プロセスを確認します
1
2
3
$ ps -ef | grep npx root 10987 1 0 01:17 ? 00:00:00 /usr/bin/sudo /home/ec2-user/.anyenv/envs/nodenv/shims/npx hexo server -p 8081 ec2-user 11034 10660 0 01:17 pts/0 00:00:00 grep --color=auto npx
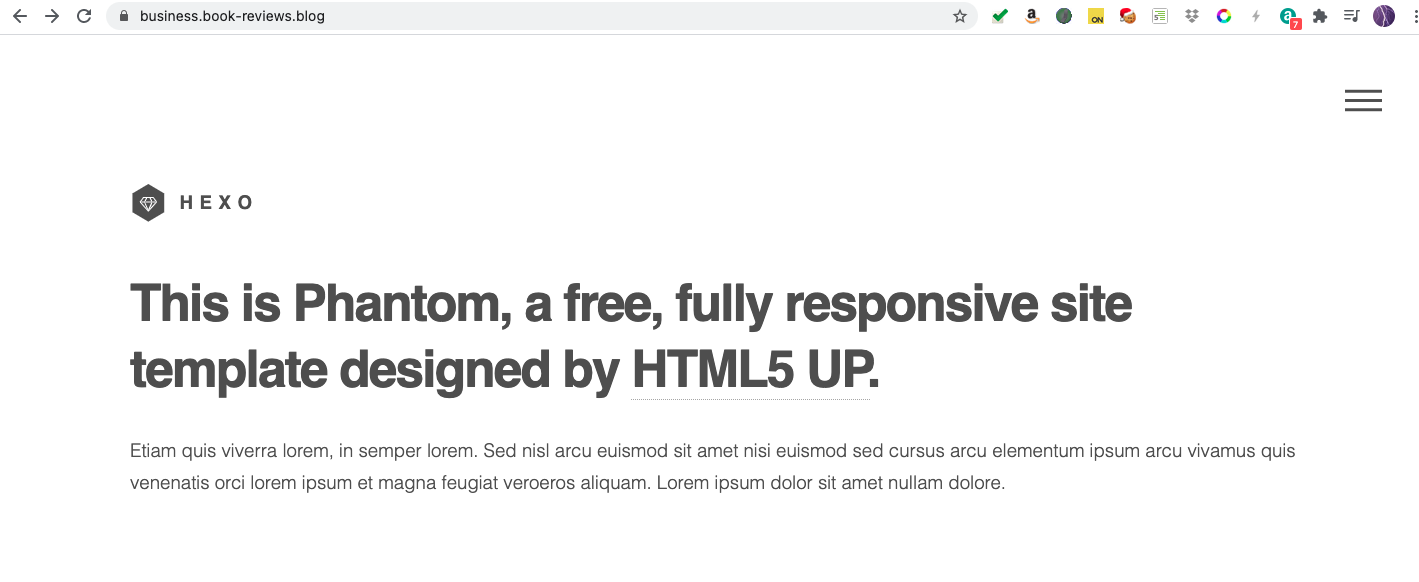
大丈夫そうですね。画面を確認します。
大丈夫そうですね!
hexoの設定 サイトの設定 アプリケーションをbusiness.book-reviews.blogにします。_config.ymlを編集します。
差分は以下になります。
1
2
3
4
5
6
7
8
9
10
11
12
13
14
15
# Site -title: Hexo -subtitle: '' +title: business.book-reviews.blog +subtitle: ビジネス書の読書ブログ description: '' keywords: -author: John Doe -language: en -timezone: '' + - ビジネス書 + - 書評 +author: Motoaki Shibagaki +language: ja +timezone: Asia/Tokyo
subtitle、keywordsも設定しましたが、TOPページには反映されないようです。
URL設定 以前、URLから日付を削除する という記事を書きました。それと同じ対応を行います。
編集した結果は以下です。
1
2
3
4
5
-url: http://example.com +url: https://business.book-reviews.blog root: / -permalink: :year/:month/:day/:title/ +permalink: :title/
動作確認 再起動して動作確認を行います。まず再起動します。
1 $ sudo systemctl restart business_book_reviews_hexo
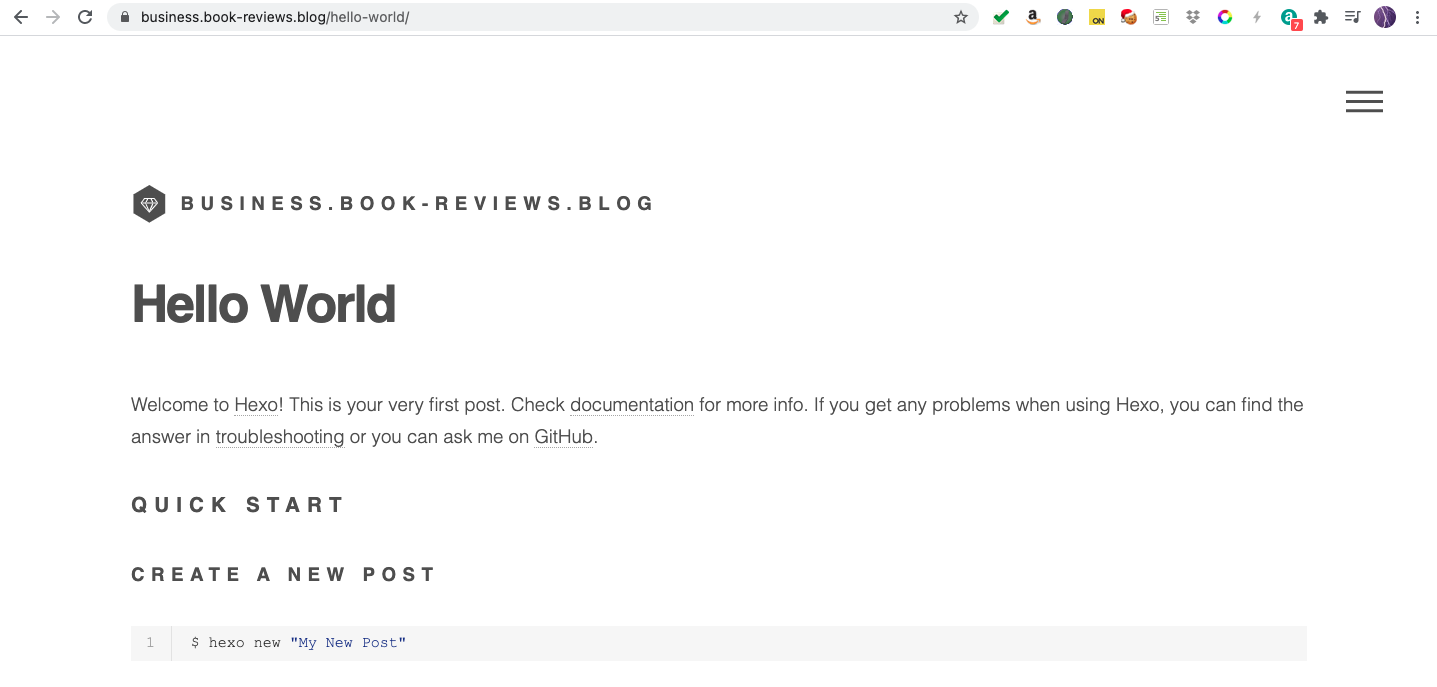
サンプル記事をクリックして表示します。
いい感じですね!
まとめ systemdの設定を行い、常時起動するようにしました。また、hexoの最低限の設定を行いました。
次回は記事の引っ越しを行いたいと思います。Google Search ConsoleでURLの削除、GAの設定なども行いたいと思います。